
Slow cookers are increasingly making their way into people’s kitchens for good reasons. They produce tasty meals with a little amount of effort required. However, the benefits they offer may be easily interpreted as merely having to toss ingredients into the cookers and walking away for as much as eight hours. While it’s true that these gadgets make cooking a whole lot convenient, meals could turn out unappetizing or unhealthy if people use the cookers incorrectly. Even worse, they could end up starting a fire in the home.
Despite the many different brands of slow cookers available take a look at our reviews of slow cookers, the essential steps of using them are comparable. Here’s a handy guide on using a slow cooker.
Preparation
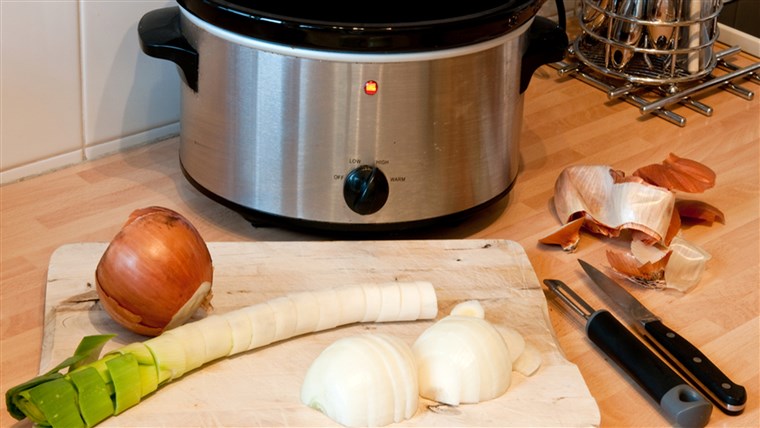
You should set your slow cooker on a level surface away from the reach of children or pets to avoid accidents. Generally, slow cookers don’t need much preparation. You can simply chop your vegetables and meat and preheat the slow cooker. However, if you want the best results, it’s advisable to follow the following preparation tips:
- Cut food into similar-sized chunks before loading them onto the cooker. That will facilitate more even cooking. For fast-cooking vegetables, it’s best to cut them into larger pieces.
- Dry beans are excellent to cook in a slow cooker. However, it’s best to start by boiling them beforehand for around 10 minutes. That will kill the toxins that would otherwise survive the slow cooker’s lower temperatures. Alternatively, you could soak the beans overnight and afterward drain and rinse them before use.
- Ensure food is completely thawed before putting it into the slow cooker. Be sure to keep perishable food refrigerated until meal preparation time.
- For better development of flavor, consider searing meats and cooking off spices prior to slow cooking. Some slow cooker models allow you to sear in their bowls. Some even come with bowls that can be placed on a stovetop directly. With such models, you won’t have to use a frying pan, helping you cut down on cleanup time.
- Depending on your preference, you can precook onions to get better results.
Loading
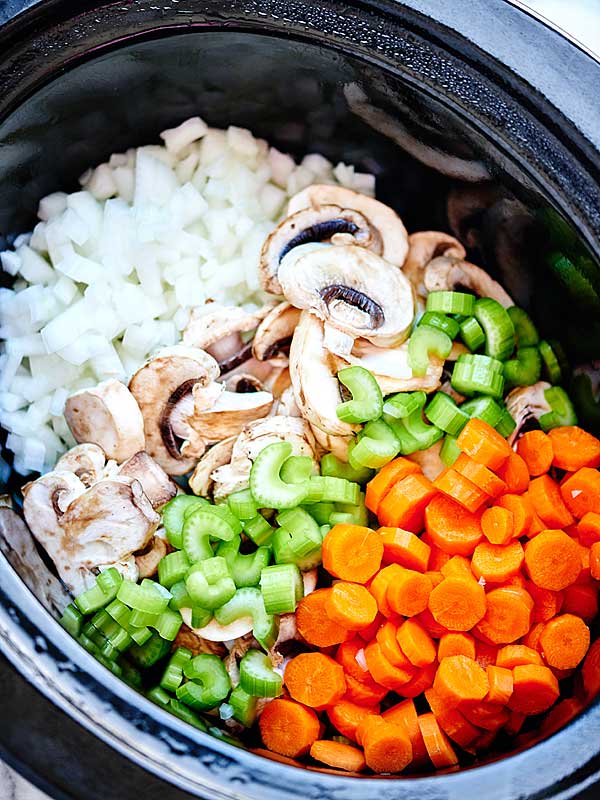
Foods at the bottom of a slow cooker cook faster. Root vegetables cook longer in the cooker, so they ought to be put at the bottom of the appliance. You should then place meat on top, and then the cooking liquid. Most recipes will need a liquid to prevent the food from drying out. Boiling water, stocks, broths, sauces, and wine are some of the most recommended cooking liquids.
It’s important for the slow cooker to be at least a third full. That helps prevent overcooking. It’s also a good idea to ensure it isn’t more than three-quarters full. By overfilling a slow cooker, you risk having it leak from the top.
Cooking
Once you’ve added all the ingredients, the next step is setting the temperature. Set high if you want a longer cooking period or low if you want a shorter one. If the cooker has a built-in timer, set the time along with the temperature. Slow cookers don’t have strict timings. You can lower the heat and leave your food simmering until everyone’s ready to eat.
The auto-speed setting utilizes the high speed setting initially for about half an hour before switching to the low setting for the rest of the cooking duration. It comes in handy when using the maximum capacity of the cooker.
You can leave food unattended as it bubbles away in the cooker for about eight hours if on low. When cooking on the high setting, be on the lookout for spillage. As food heats up, condensation is formed. Lids are normally loose-fitting, so there’s every possibility of food splashing out. Therefore, keep an eye on the appliance if you’re cooking on high. Alternatively, put the cooker in an area where the occasional spills won’t be much of a problem.
Condensation buildup under the lid can also increase the liquid in the cooker and create a watery sauce that weakens flavor. For that reason, consider adding less liquid than needed initially. You can thicken the liquid at the end of your cooking.
As tempting as it may be, don’t check on your meal once it begins cooking. Lifting the lid allows moisture and heat to escape, extending the cooking time. Removing the lid and switching to the higher setting near the end of the cooking may be useful if the meal you’re preparing needs reduction of the liquid, addition of leafy green vegetables or thickening with cornstarch. Typically, seafood, quick-cook vegetables, dairy products, cooked pasta, and rice are added during the last hour of cooking to prevent them from overcooking.
To convert a traditional recipe into a slow cooker recipe, reduce the liquid required by half and lengthen the cooking time. For instance, 35 to 40 minutes of cooking time in an oven is equivalent to six to eight hours in a slow cooker on the low setting. Here’s the basic time guide to follow when adapting recipes to a slow cooker:
| Conventional Oven Time | Low Setting: | High Setting: |
| 15 – 30 min | 4 – 6 hrs | 1 – 2 hrs |
| 35 – 40 min | 6 – 8 hrs | 3 – 4 hrs |
| 50 min – 3 hrs | 8 – 18 hrs | 4 – 6 hrs |
If there’s been a lengthy power outage as your meal cooks, it’s best to throw away the food because it may be unsafe for consumption. Avoid reheating leftovers in your slow cooker. Use a cooktop, oven, or microwave instead.
Cleaning
An excellent thing about slow cooking is that there are fewer items to wash up. If a slow cooker comes with a removable pot, you’ll need to remove the pot once you’re done using the appliance. Fill the pot with hot soapy water and let it soak. Afterward, dry it completely then put it away. Putting cold water directly into the slow cooker is not advised because it can cause cracks. You can remove strong odors and residue buildup from ceramic slow cooker bowls using a vinegar-water solution or bicarb soda.
A slow cooker can be intimidating for a beginner. By learning how to use it, you’ll always be ready to whip up healthy and tasty meals for the family regardless of the activities and schedules you have to juggle each day.